-
No.66 Gaojia, Xingfu Village, Sanqi Town, Yuyao, Ningbo,China
Welding Tips: Mastering Metallographic Inspection of Welds
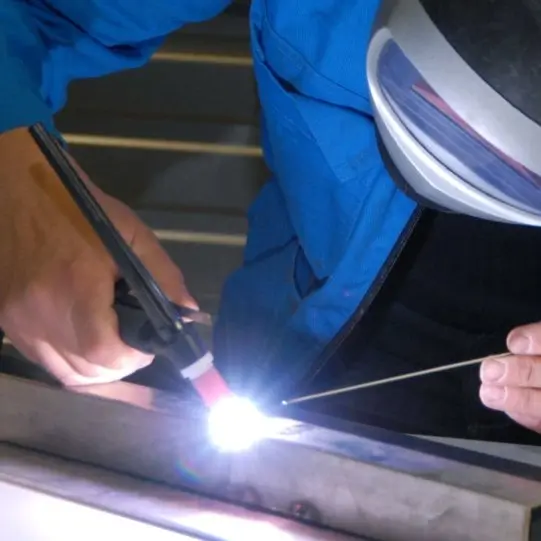
Welding is an essential process in countless industries, joining metals together to create everything from bridges to electronics. But how do we ensure the quality and integrity of these crucial welds? This article explores the fascinating world of metallographic inspection, a powerful technique used to examine the microstructure of welded joints and ensure they meet the highest standards. We’ll cover various aspects, from preparing the weld for inspection to understanding common defects. Whether you’re a seasoned welder or just starting out, this guide will provide valuable insights into the critical role metallographic examination plays in ensuring strong, reliable weldments.
What is Metallographic Inspection of Welds?
Metallographic inspection is a destructive examination method used to evaluate the internal structure of a weld, revealing its microstructure and any potential defects. This involves preparing a small section of the welded joint, polishing it to a mirror-like finish, and etching it with a chemical solution to reveal the grain boundaries and phases present in the weld metal. By examining this prepared sample under a microscope, we can gain valuable insights into the weld’s quality, strength, and overall integrity. It’s like taking a close-up photograph of the metal’s internal structure, allowing us to see details invisible to the naked eye. This inspection is crucial for quality control and ensuring the long-term performance of welded structures.
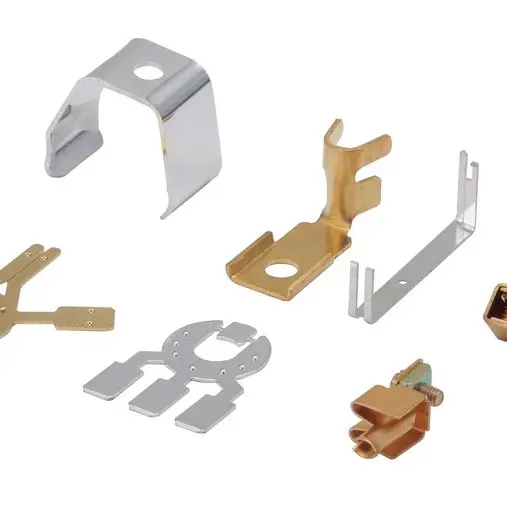
The process helps identify potential problems like cracks, porosity, and lack of fusion, which can compromise the weld’s strength. It also helps determine if the correct welding process was used and if the metal has the right properties for the intended application. This method is crucial for ensuring safety and preventing failures in critical applications like aerospace and construction. Metal Stamping Terminal products, often incorporating welded components, benefit from this meticulous inspection to guarantee their reliability.
Why is Metallographic Inspection Important?
Metallographic inspection plays a vital role in ensuring the quality and reliability of welds. It allows us to:
- Verify Weld Quality: By examining the microstructure, we can confirm if the weld meets the required specifications and standards. This helps ensure the weld is strong enough for its intended use.
- Identify Defects: The process reveals hidden defects such as cracks, porosity, lack of fusion, and lack of penetration, which can significantly weaken the weld.
- Optimize Welding Processes: By studying the microstructure, we can fine-tune welding parameters like heat input and travel speed to achieve optimal weld quality.
- Investigate Failures: In case of a weld failure, metallographic inspection can help determine the root cause and prevent future incidents.
- Ensure Safety: By identifying potential weaknesses in welds, we can prevent catastrophic failures and ensure the safety of structures and equipment. A deep dive into a weld’s microstructure can pinpoint weaknesses, making structures safer and preventing costly repairs.
This comprehensive inspection method is indispensable for critical applications where weld integrity is paramount, from pressure vessels to aircraft components. It provides a detailed understanding of the weld’s characteristics, enabling informed decisions about its suitability and long-term performance.
How to Prepare a Weld for Metallographic Inspection?
Preparing a weld sample for metallographic inspection involves a multi-step process:
- Sectioning: A small representative section is cut from the welded joint using a saw or abrasive cutter. This section should include the weld metal, the heat-affected zone (HAZ), and the base metal.
- Mounting: The cut section is embedded in a mounting material, typically a resin, to facilitate handling and polishing. This provides a stable platform for the subsequent steps.
- Grinding and Polishing: The mounted sample is progressively ground and polished using finer and finer abrasives to create a smooth, flat, and scratch-free surface. This prepares the surface for etching and microscopic examination.
- Etching: A chemical etchant is applied to the polished surface to reveal the microstructure. The etchant selectively attacks different phases and grain boundaries, creating contrast and making them visible under a microscope. This is crucial for visualizing the grain structure and identifying any potential issues within the weld.
Common Welding Defects Revealed by Metallography
Metallography can reveal a wide range of welding defects, including:
- Porosity: Small voids or gas pockets trapped within the weld metal. These weaken the weld and can lead to leaks.
- Lack of Fusion: Incomplete melting of the base metal or weld metal, resulting in a weak bond.
- Lack of Penetration: Insufficient weld metal reaching the root of the joint, compromising its strength.
- Cracks: These can be caused by various factors, such as stress, hydrogen embrittlement, or solidification shrinkage. Cracks severely weaken the weld and can lead to failure.
- Nonmetallic Inclusions: Foreign particles trapped in the weld metal, which can act as stress concentrators and weaken the joint.
Choosing the Right Etchant for Different Metals
The choice of etchant depends on the type of metal being inspected. Here are some common etchants used for different metals:
- Steel: Nital (a solution of nitric acid and alcohol) is commonly used. The specific concentration of nital depends on the type of steel.
- Aluminum: Keller’s reagent (a mixture of hydrofluoric acid, nitric acid, hydrochloric acid, and water) is often used.
- Copper Alloys: Several etchants can be used, including ferric chloride, ammonium persulfate, and potassium dichromate.
Choosing the appropriate etchant is essential for revealing the desired microstructural features.
Non-Destructive vs. Destructive Weld Testing: Understanding the Difference
Non-destructive testing (NDT) methods, such as ultrasonic testing and radiographic inspection, allow for the examination of welds without damaging them. These methods can detect internal flaws and are useful for in-situ inspections. However, NDT methods often provide less detailed information about the microstructure compared to destructive methods like metallography. Destructive testing methods, like metallography, provide more specific information about a particular location. There are many NDT methods for inspection available to the technician. The method chosen depends on the information required. Non-destructive testing methods can detect internal flaws that are not visible on the surface. Ultrasonic inspection is an example of non-destructive testing. Cylindrical Spacers may undergo non-destructive testing to ensure their structural integrity without compromising their form.
Metallography: A Deeper Dive into Microstructure Analysis
Metallography is not limited to inspecting welds. It is a valuable tool for understanding the microstructure of any metal, providing insights into its properties and behavior. By examining the size, shape, and distribution of grains, phases, and inclusions, we can predict a material’s strength, ductility, hardness, and corrosion resistance. Metallography can reveal defects not only in welding but also in metal forming and casting. Metallography helps in failure analysis which helps improve manufacturing and design processes.
Cruciform Welded Joint Testing and Analysis
Cruciform welded joints, commonly used in structural applications, are subjected to various tests to ensure their strength and integrity. These tests, often incorporating metallographic examination, analyze the joint’s behavior under stress, fatigue, and impact loads. By understanding the joint’s performance under various conditions, engineers can optimize the joint design and welding parameters for specific applications.
Advanced Metallographic Techniques
Beyond traditional optical microscopy, advanced techniques like electron microscopy and X-ray diffraction can provide even more detailed information about the microstructure of welds. These techniques allow for higher magnification and can reveal subtle variations in composition and crystal structure, which are crucial for understanding the weld’s behavior under extreme conditions.
Key Takeaways: Metallographic Inspection for Strong Welds
- Metallographic inspection is essential for ensuring weld quality and reliability.
- Proper sample preparation is crucial for accurate analysis.
- Understanding the microstructure helps identify defects and optimize welding processes.
- Different metals require different etchants for optimal visualization.
- Non-destructive and destructive testing methods complement each other.
- Advanced metallographic techniques provide deeper insights into material behavior.
By mastering these concepts, you can utilize metallography to improve your welding skills, enhance product quality, and ensure the structural integrity of your projects.
